


How to Photograph an Amazing Sparkler Exit with OCF
Here are some tips for OCF (off-camera-flash) sparkler exits. There are 3 important components that I have found help me achieve these results.
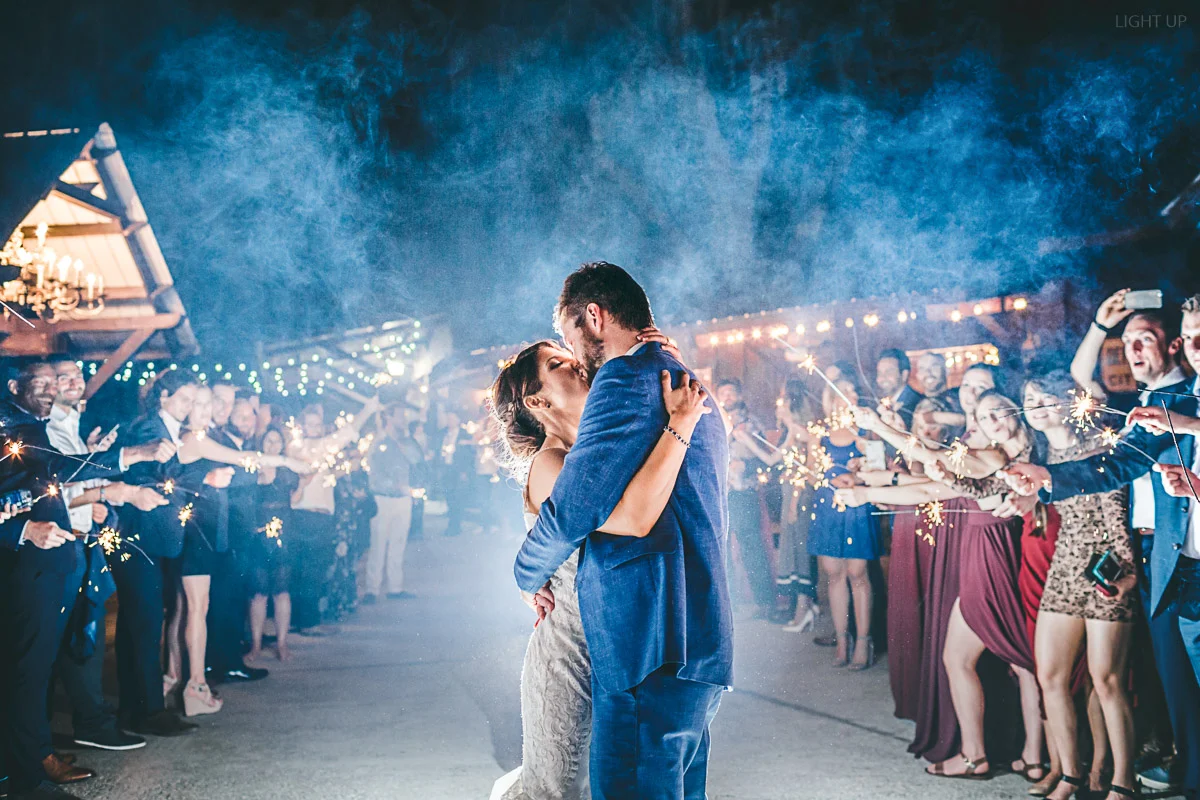
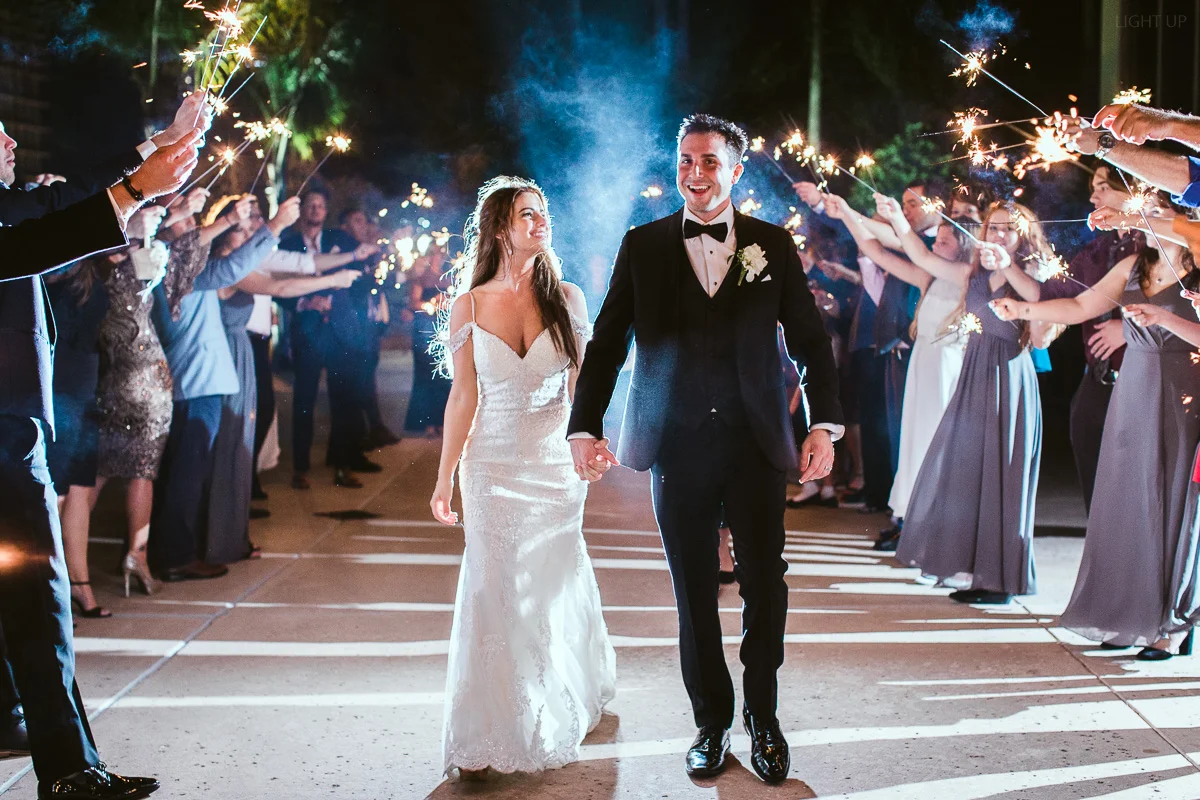
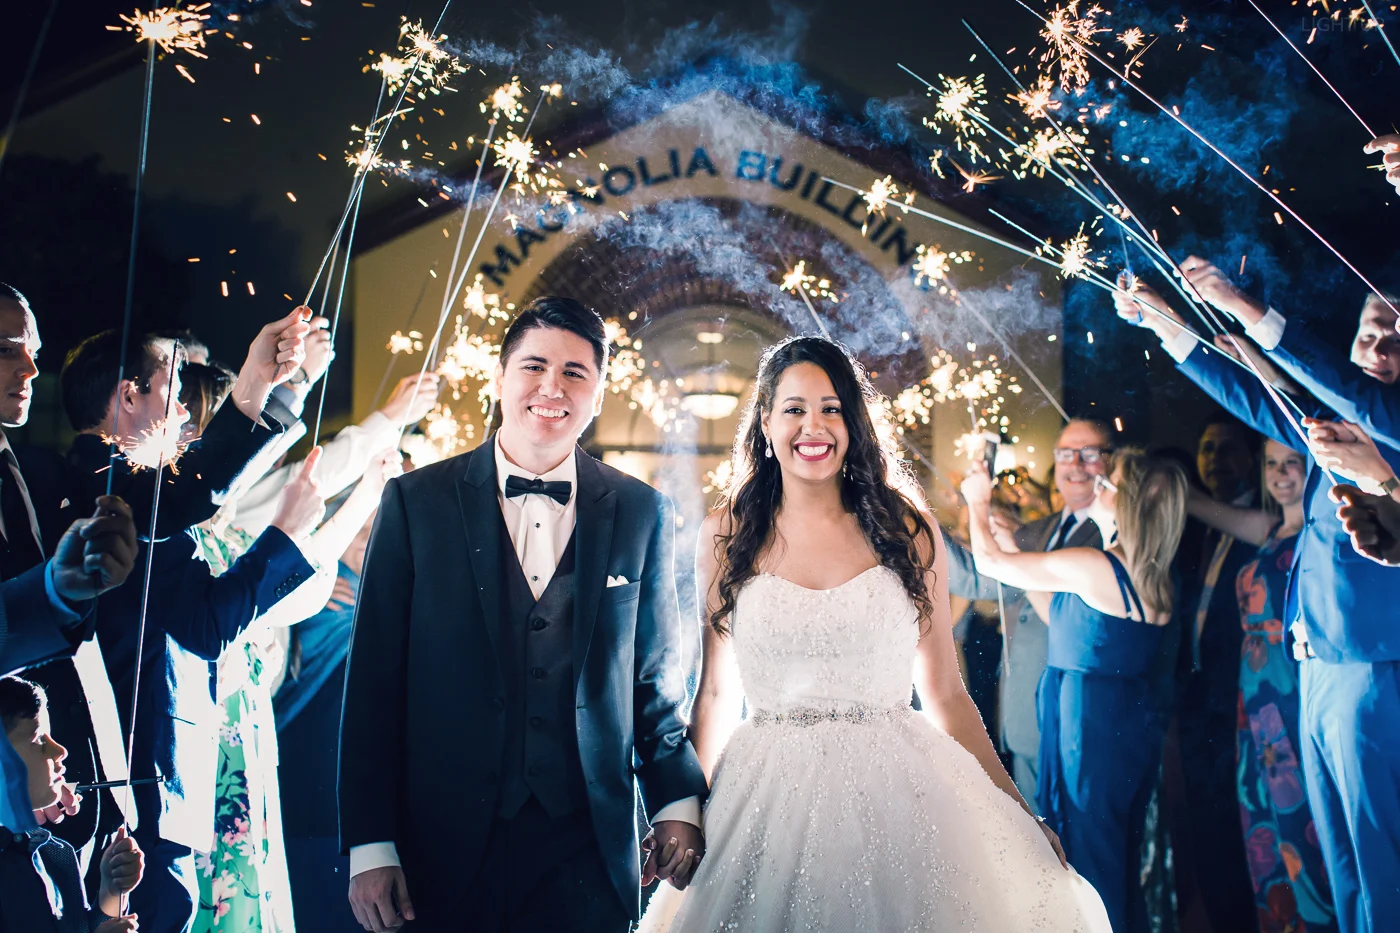
1. An assistant. The OCF unit has to be handheld by an assistant/second shooter so they can follow the couple from behind. Unlike the alternative of placing a flash on a stand, an assistant can ensure that the flash is aimed at the couple consistently while remaining (mostly) out of sight. The assistant is also able to walk accordingly and retain the appropriate amount of distance between the flash and the couple; not too close and not too far. The assistant needs to be close enough for that epic backlight effect, but not too close or else the couple will end up blocking the light and prevent it from spilling from spilling forward in order to light up the front of the couple and the people around them.
It is critical that the assistant is constantly aware of the photographer because there is little time for adjustments once things get rolling and verbal communication can be difficult after those sparklers are ignited. I make full use of the screen on the back of my camera to test the shot while guests are walking out and I make adjustments accordingly. This is the best chance to dial in my settings in order to nail the shot. If I like what I see during the test shots, I will like what I see during the sparkler exit. This is the last chance to tell my assistant that the guest need to move closer or further away from the area where the bride and groom will be walking through. Basically, I want to make a handful of test shots (as many as you need to) so I can know what to expect when the couple comes out and there’s no more tinkering with settings on the camera or on the flash when it’s go-time. I put emphasis on reminding my assistant to constantly be aware of me and check in instead of getting distracted with drunken chatty guests. This has made or broken my sparkler exits in the past; I can’t emphasize enough how frustrating it is to be 20 yards away trying to get the attention of my assistant in the middle of 100 loud guests while they are unwillingly caught in a conversation with a guest or coordinator. Sometimes you still need to make adjustments, but without a test shot, those adjustments are a hail mary.
2. Manual flash set bright. An automatic (TTL) backlit flash is not going to accomplish what we are trying to do here; it is simply not designed for that. The sparklers in the middle of a nighttime setting mixed with a white dress and a dark tux are a recipe for inconsistent flash outputs; some are going to be too bright and others not bright enough, and maybe some will be just right. Instead, the flash has to be set to manual so you can control how bright it will flash every single time you take a photo. The conditions will be the same during the 10-20 second sparkler exit, so the flash settings need to be the same, just like your camera settings (for the same reasons, this is also a bad time to use any automatic modes like aperture priority or auto ISO). The flash needs to be really bright. Bright enough to light up the scene even though it’s technically being blocked by your subject. Also, always shoot in RAW format.
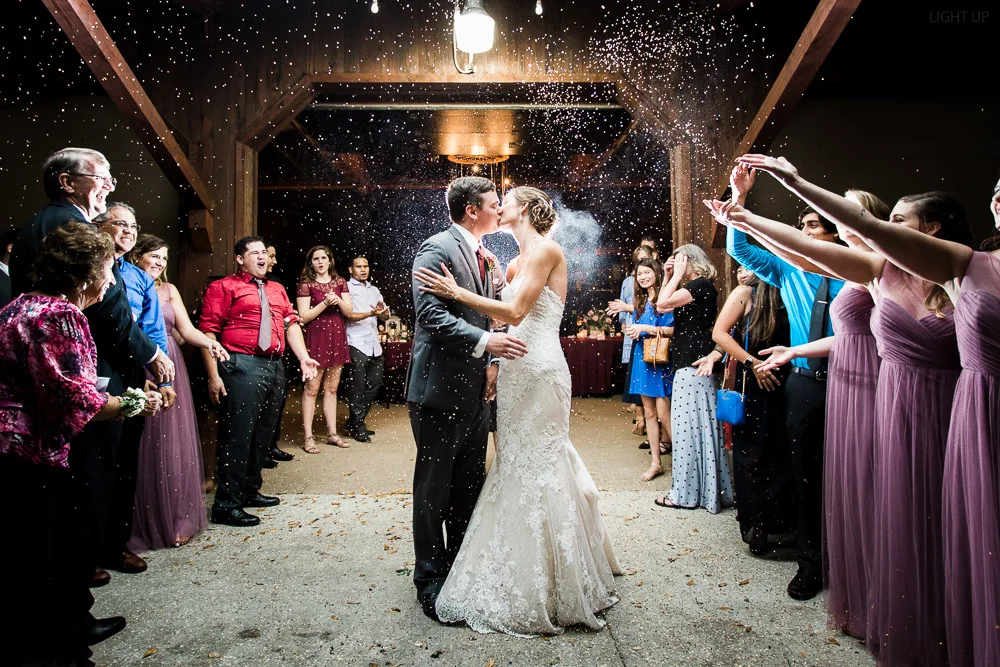
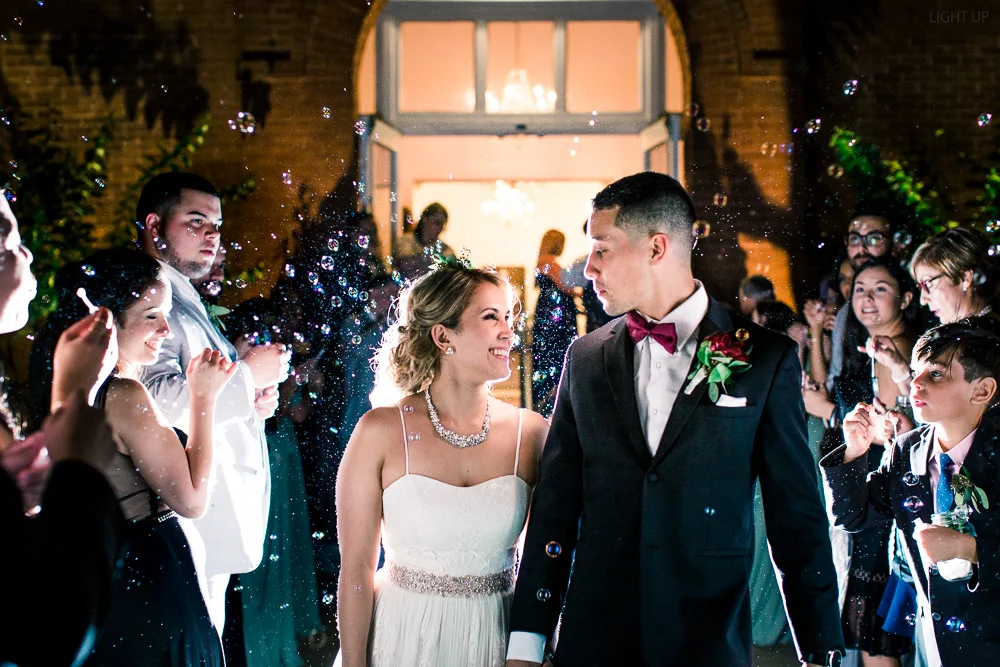
3. The couple needs to be instructed to walk slowly, avoid hunching away from the sparklers, and stay close to each to each other at the hips because otherwise, If they spread out too far while holding hands, the light from the flash will reach the lens directly and cause big-time bright haze. You are basically photographing light at that point and it will look overexposed.
Bonus tip: a sparkler exit is not the time to practice this, but ideally, the focusing mode should be set to SERVO; it is designed for moving subjects. You can back-button focus once on your couple; this will lock in the focus on your couple and the focus will adjust automatically as they move towards you, even while you move backward, while you keep firing the shutter.
Bonus tip #2: this technique works great with bubble exits and other alternatives to sparkler exits too.
The main takeaway is to do test shots and adjust accordingly to dial in the settings of the camera and flash before the bride and groom do their thing. Since we are not dealing with the limitations of film, take full advantage of being able to take as many test shots as necessary and use the screen on the back of your camera to confirm that you like what you see. In my early days, I was guilty of not using the back of my screen to confirm that any changes in my settings were indeed good changes only to find out that I had a handful of images in a row that were too dark or too bright. Since then, I came up with a phrase to remind myself of this. I call it “take one, check one”. Meaning that, I will take one photo and check it on the back of my camera. If I make any changes to my settings, I’ll take one photo and check it. If everything looks good, then I can continue to shoot happily.
Questions? Leave a comment and I’ll get back to you as soon as possible.


